Electronics tutorials including microcontroller, microprocessor, programing and circuits. Intended for beginners, electronics hobbyists, college students, professionals and educational purposes.

How to change Hostname of OpenWrt ?

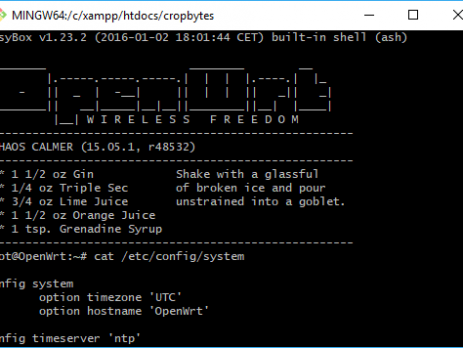
Sometimes you may need to change the hostname of your OpenWrt. Host name is stored in the system configuration file. You can view it in the following command. cat /etc/config/system System Configuration - OpenWrt It is very easy to change hostname of OpenWrt, using following commands. Here we are changing our hostname to "electroSome". uci set [email protected][0].hostname='electroSome' uci commit system /etc/init.d/system reload Changing Hostname of OpenWrt

Getting Started with OpenWrt C Programing

In this tutorial we will learn how to cross compile a C program for OpenWrt. Cross compiling a C program for OpenWrt is a little complicated task for beginners. So I thought of writing a detailed tutorial for it. Please feel free to comment below if you have any doubts or you want to add anything more to this article. OpenWrt Prerequisite You need a linux system for making the OpenWrt build environment. We are using Ubuntu in this tutorial. Windows 10 users...

Calling API using ESP8266

The objective of this tutorial is to explain how to do HTTP JSON GET requests using an ESP8266 and Arduino IDE. Components Required ESP8266 USB Cable Hardware Connect ESP8266 to Computer   Software Code #include <ESP8266WiFi.h> #include <ESP8266HTTPClient.h> #include <ArduinoJson.h> const char* ssid = "SERVER NAME"; const char* password = "SERVER PASSWORD"; void setup() { Serial.begin(115200); WiFi.begin(ssid, password); while (WiFi.status() != WL_CONNECTED) { delay(1000); Serial.println("Connecting..."); } } void loop() { if (WiFi.status() == WL_CONNECTED) { HTTPClient...

Interfacing GPS with Arduino

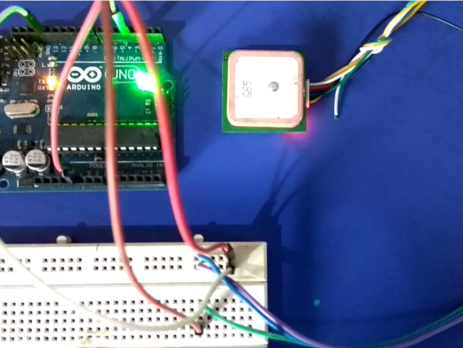
GPS stands for Global Positioning System. GPS module find the location (latitude, longitude, altitude) by comparing the time taken for receiving signals from satellites in its vicinity. GPS offers a great accuracy and also provides other data besides position coordinates. Components Required Arduino Uno GPS Breadboard Connecting Wires Hardware Circuit Diagram Interfacing GPS with Arduino - Circuit Diagram Connections Connect TX pin of GPS Module to pin number 4 of Arduino Uno. Connect RX pin of GPS Module to pin number 3 of Arduino Uno. Connect Red wire...

Interfacing PIR Motion Sensor with Arduino

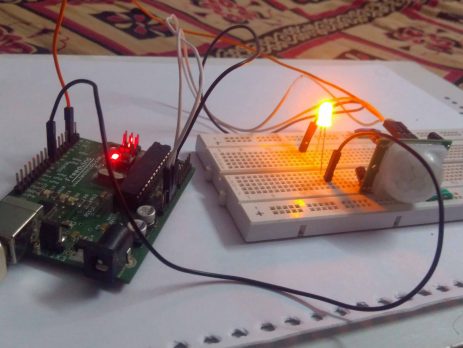
A PIR sensor is generally known to the world as a motion sensor or motion detector. So in this project we are going to use the PIR motion sensor to detect motion. Here we are going to sense movement of human by using Passive infrared sensor (PIR sensor). Using the feedback from the sensor we will control an LED with the help of Arduino Uno. Components Required Arduino Uno PIR Sensor 330Ω Resistor LED Breadboard Connecting Wires Hardware Circuit Diagram Interfacing PIR Motion Sensor with Arduino - Circuit...

Interfacing GSM Module with Arduino

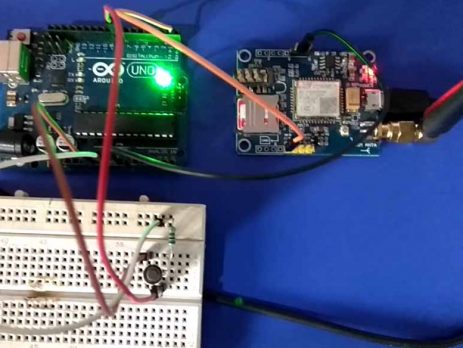
In this article, I am going to explain about interfacing of GSM Module with Arduino. Interfacing a GSM module to Arduino is pretty simple. We have to make only 3 connections between the GSM module and Arduino. For the working demonstration we will be sending an SMS to a particular number whenever a switch is pressed. Components Required Arduino Uno GSM Modem Switch 1kΩ Resistor Breadboard Connecting Wires Hardware Circuit Diagram Interfacing GSM Modem with Arduino - Circuit Diagram Connections Connect TX pin of GSM Module to...

Interfacing Soil Moisture Sensor with Arduino

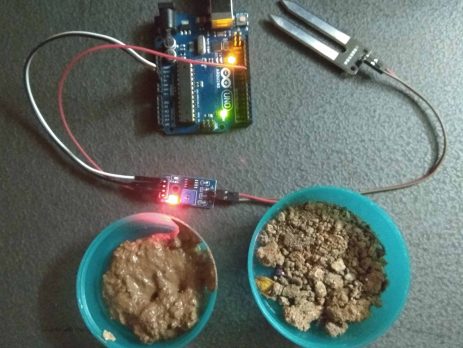
Introduction In this article, we are going to interface a Soil Moisture Sensor with Arduino Uno. We will measure the moisture content of soil in pot or farming field and by using this we can pour water into field based on preset values. This sensor measures the volumetric content of water inside the soil (based on resistance/conductivity) and gives the moisture level as output. The sensor is equipped with both analog and digital output, so it can be used in both analog...

Interfacing Rain Sensor with Arduino

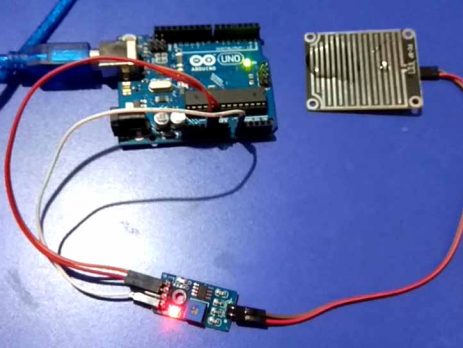
In this article we are going to explain about interfacing Rain Sensor with Arduino. The rain sensor module is an easy tool for rain detection. It operates as a switch when raindrop falls through the raining board and also it measures rainfall intensity. The module features, a rain sensing board and the control board that is separate for more convenience, power indicator LED and an adjustable sensitivity though a potentiometer. Rain Sensor Module Raindrop sensor is basically a board on which nickel...

>