Electronics tutorials including microcontroller, microprocessor, programing and circuits. Intended for beginners, electronics hobbyists, college students, professionals and educational purposes.

Flashing LPC2148 – ARM Microcontroller Tutorial – Part 2

In this tutorial we will learn how to flash an LPC2148 microcontroller using on-chip serial (UART) ISP bootloader with Flash Magic tool. Components Required LPC2148 ARM Microcontroller USB to UART converter with DTR and RTS outputs. You may also use ready to go boards like rhydoLABZ LPC2148 Stick. Connections LPC2148 ISP Serial UART Flashing Connections Circuit Diagram LPC2148 ISP Serial UART Flashing - Circuit Diagram Using Flash Magic Tool Above we seen how to make connections for serial ISP programming. In this section we will see...

Installing Keil IDE – ARM Microcontroller Tutorial – Part 1

This is our first part of ARM microcontroller tutorial. In this article we will see how to setup development environment for ARM microcontroller LPC2148. We are using Keil IDE for this. Downloading IDE Go to "keil.com" Go to "Download" page Go to "Product Downloads" Go to MDK-Arm Fill the contact form and submit it. You will get the download link of Keil IDE Keil - Product Downloads Downloading Keil Legacy Support Go to legacy support's download page. Click on "Download Legacy Support for...

Interfacing MPU-6050 / GY-521 board with Arduino Uno

About MPU-6050 MPU-6050 is a chip manufactured by Invensense which combines 3 axis accelerometer and 3 axis gyroscope with an on-board digital motion processor. It also includes a embedded temperature sensor and an on chip oscillator. It is very accurate and consist of analogue to digital conversion hardware for each channel thereby capturing x,y,z channels at the same time. The arduino can be interfaced with I2C bus. 3-axis Gyroscope The MPU-6050 consist of a 3 axis gyroscope which can detect rotational velocity along...

Flashing Espressif and NodeMCU Firmware to ESP8266

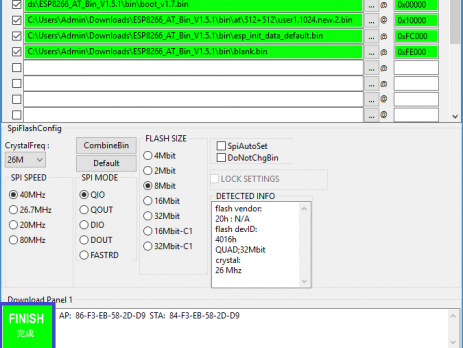
In the earlier articles, we have written our own program in Arduino IDE to access GPIO pins of ESP8266 or to interface sensors to ESP8266. But if we write our own program to access GPIO Pins, the existing firmware will be completely erased and the new program will be written on the ESP8266. So in this article, we will explain how to flash the Official Espressif and NodeMCU Firmware to ESP8266. This can also be used to update to the latest ESP8266...

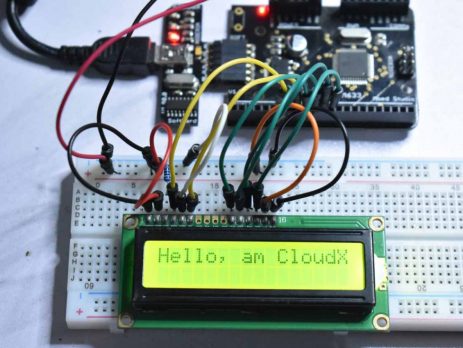
Interfacing LCD with CloudX Board

To have a good relationship between human world and machine world, display units plays a vital part. Displays allows us to know what’s happening in a device like the voltage, temperature, present status of the device and even device fault detection etc. LCD's have a very wide application in embedded systems and it is more preferred than seven segment displays. Alphanumeric LCDs are most commonly used in embedded projects since it is commonly available and easy to use. 16x2 LCD Display In...

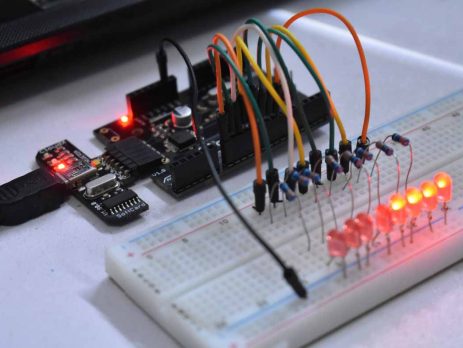
CloudX – Writing to PORTs

In the previous tutorial we saw how to blink an LED using CloudX board, but in some projects we might need to write to a PORT or a group of pins at the same time. For eg., for designing an 8 LED chaser, writing to pins one after the other makes your code look so bulky but writing to a PORT at once for this kind of projects will make your code look neat and more efficient. A PORT is a...

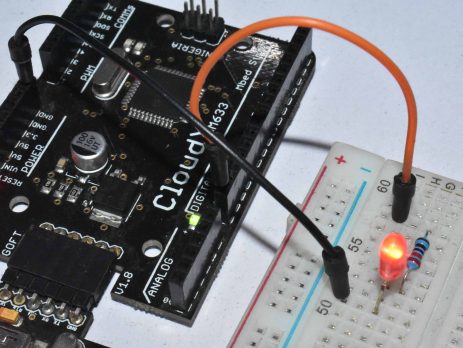
Getting Started with CloudX Development Board

CloudX M633 is one of the popular PIC based microcontroller development board designed by ByteHub Embedded, it comes with over 500 library functions which makes it very easy for beginners to start with embedded systems. In this tutorial we will see how to write our first "Hello World" program to blink an LED using the popular CloudX M633 (PIC16F877A chip) development board. CloudX - PIC Microcontroller Development Board and SoftCard Components Required CloudX Microcontroller Board and SoftCard Light Emitting Diode (LED) Resistor...

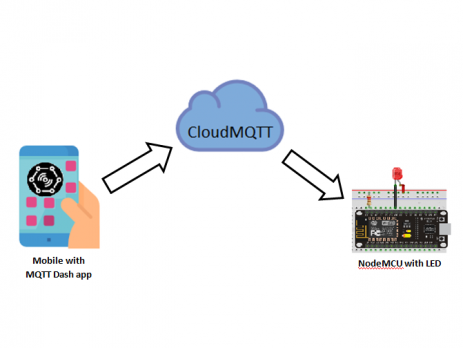
ESP8266 as MQTT Client – Arduino IoT

IoT or Internet of Things is an emerging technology which enables us to create a network of devices, sensors, actuators to connect and exchange data. MQTT (Message Queuing Telemetry Transport) is one of the commonly used protocol in this field. It consists of MQTT Broker and MQTT Clients. Where MQTT Broker is the server through which all MQTT Clients are communicating each other. CloudMQTT provides MQTT Broker as a service, which we are using in this tutorial. In this project we...

>